macOS is a Unix-like desktop operating system, so naturally, the terminal is a key element of the workflow if used correctly. Like Linux, macOS has many ways to customize the terminal to your liking. In fact, by default, the Terminal app has ten built-in themes to choose from to customize the aesthetics of the terminal, and macOS uses zsh as the default shell which allows for even more customization. I’m going to be going over the different ways I customized my macOS terminal to fit my needs, but also give general tips for making your development, writing, or file management system more effective.
What Terminal I Use
First up, I don’t use the default macOS Terminal app. I’m not saying it’s necessarily bad, but it is somewhat limited compared to other options. So, I instead use Ghostty, a free and open-source terminal emulator that just released recently. Its frontend is written in SwiftUI on macOS, giving it a native feel and high performance. I personally use the Catppuccin theme for Ghostty.
My Dotfiles Structure
If you open Finder and press ⌘⇧ + ., you can show hidden files, or dotfiles (as they all start with a dot to denote they’re hidden). These are usually files you don’t normally mess with in normal desktop usage, but they do have some components you can modify, such as the .config directory or the .zshrc file. These are located in your home (~) directory, but I like to have them in a separate dotfiles directory synced to Github. This is a bit more complicated, as it involves a separate program: GNU Stow. Primarily made for the GNU userland (which is what Linux uses), Stow, well, stows your dotfiles away in a dedicated directory. This makes it easy to use Git to keep your dotfiles synced without syncing your entire home directory. There are already tutorials on how to use Stow (maybe I’ll also make one in the future), but for now, I’ll just summarize how I have it set up. I have my .zshrc (the file you edit to modify zsh), a few app configurations in .config, and my tmux config stowed in my ~/dotfiles directory. I commit changes to this regularly to a private Github repository, but I might make it public in the future. NOTE: If you do decide to make your dotfiles public, MAKE SURE THERE ARE NO SECRETS (such as passwords) pushed to Github.
My Text Editor
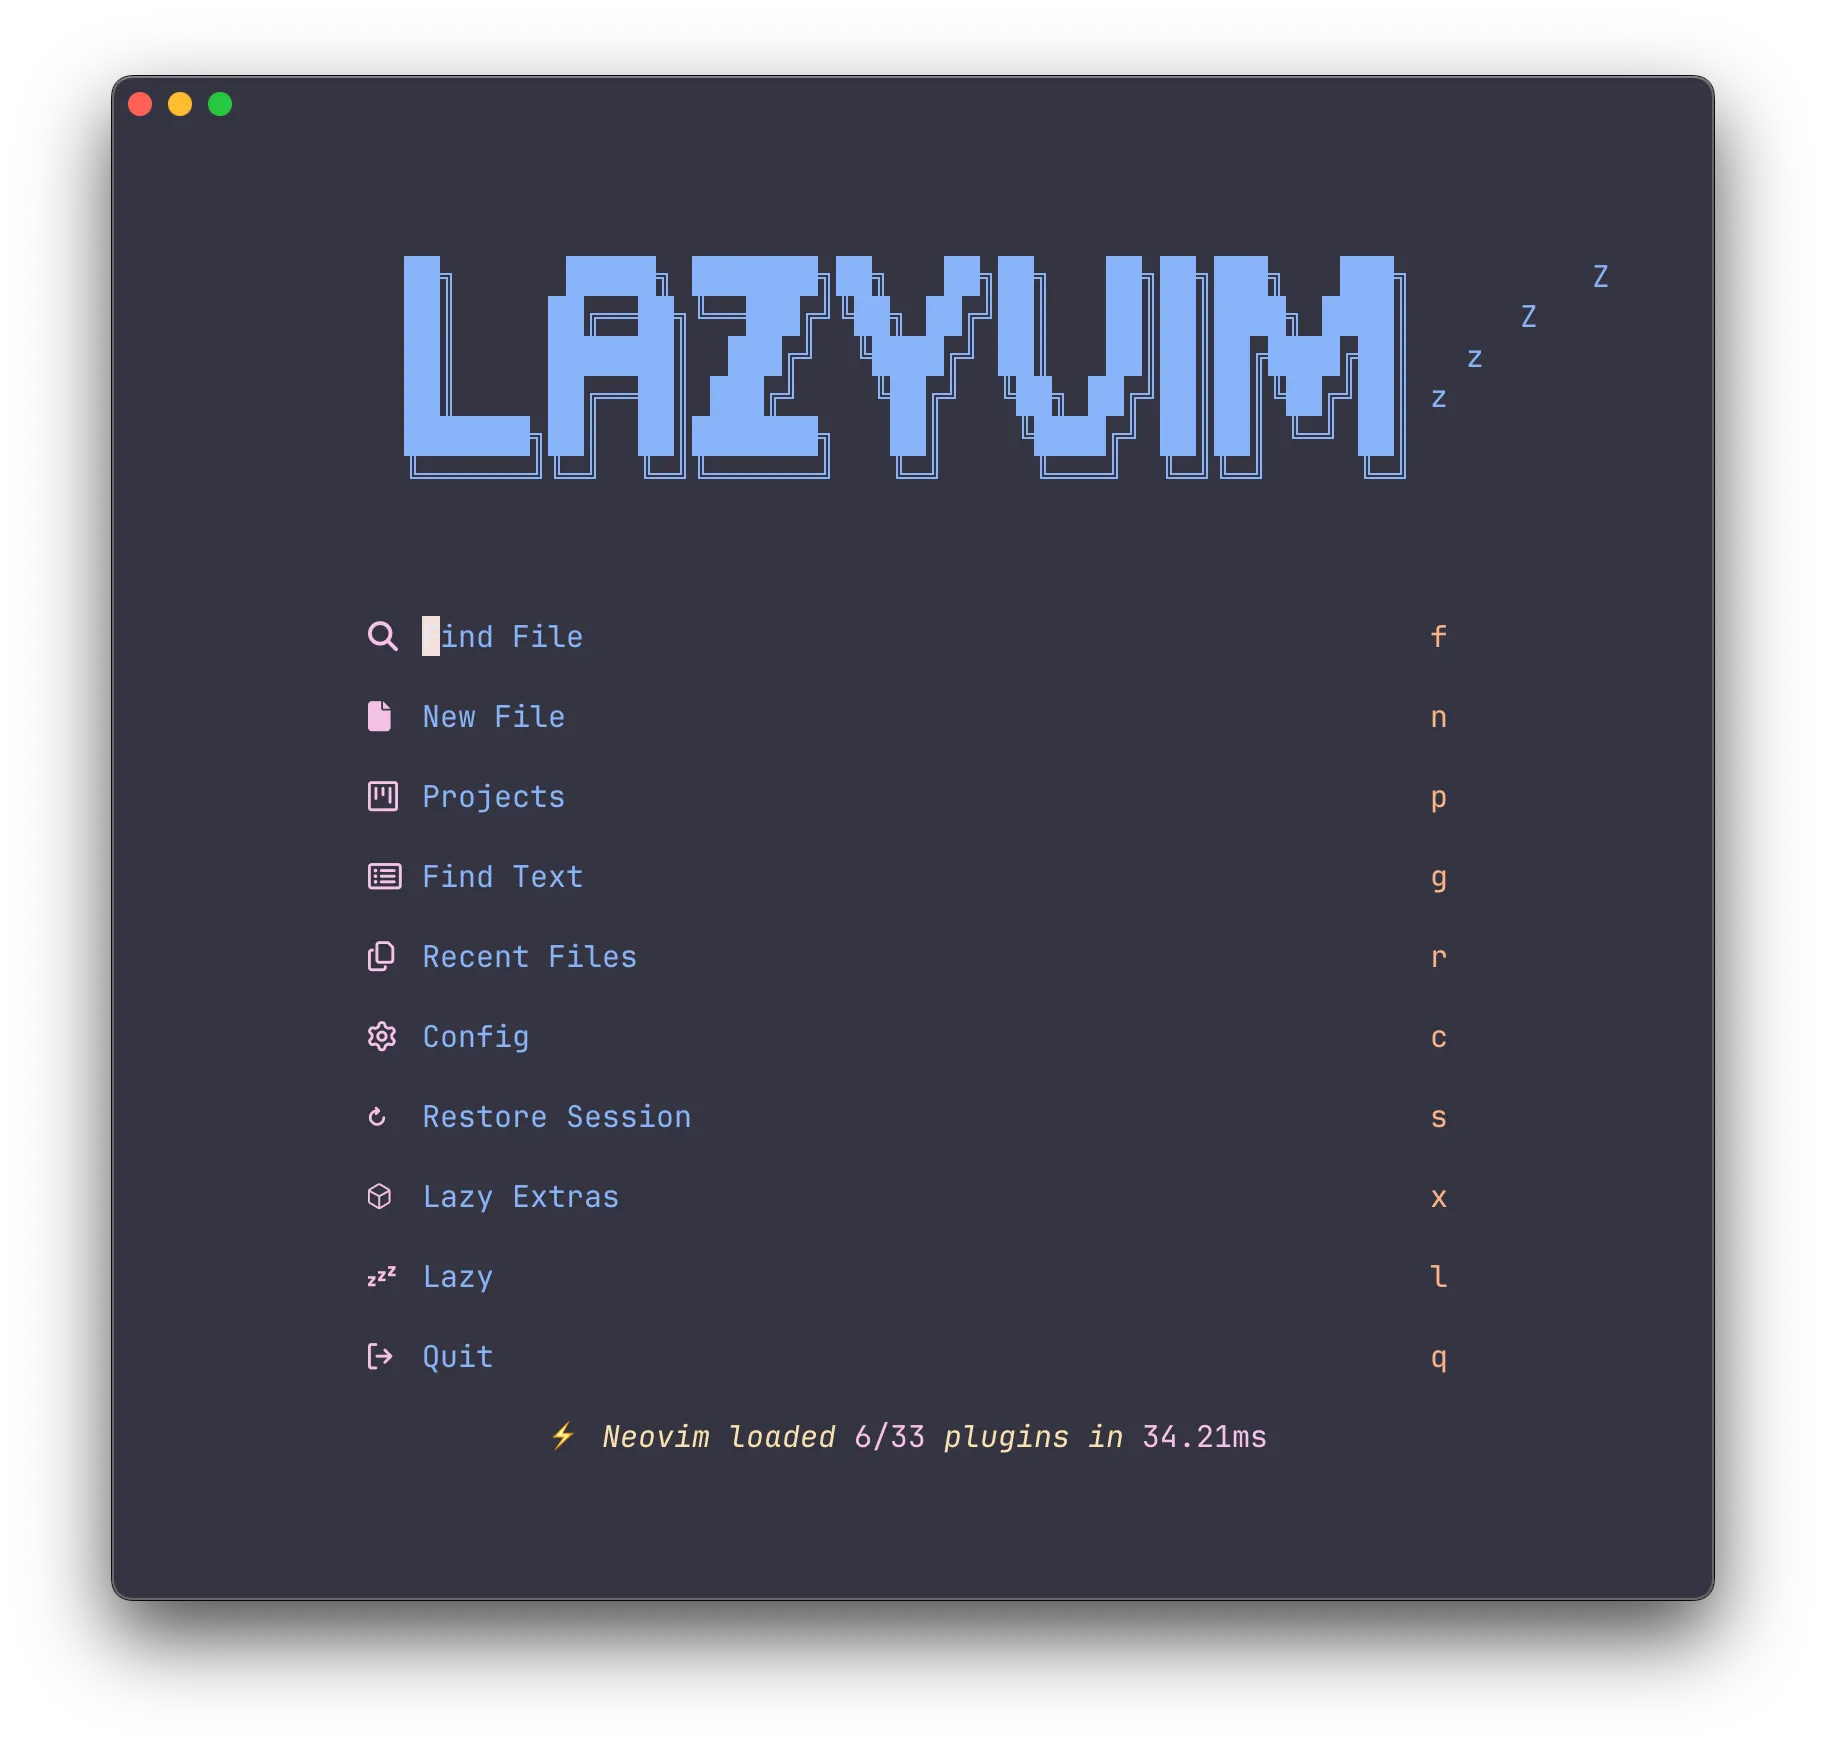
I use Neovim as my default terminal IDE/text editor. Sometimes I’ll use Nano, but most of the time if I edit a file I’ll use the v alias I set up to open the file in Neovim. Neovim, like Linux, has distributions people made to modify the base functionality of the text editor to turn it into a full development environment. I use the LazyVim distro of Neovim, as it requires a lot less configuration. Neovim and Vim have pretty steep learning curves, as they have weird keybindings and navigation, but once you learn them you’ll be really fast when editing text files. I wrote this post partially in Neovim.
My Shell
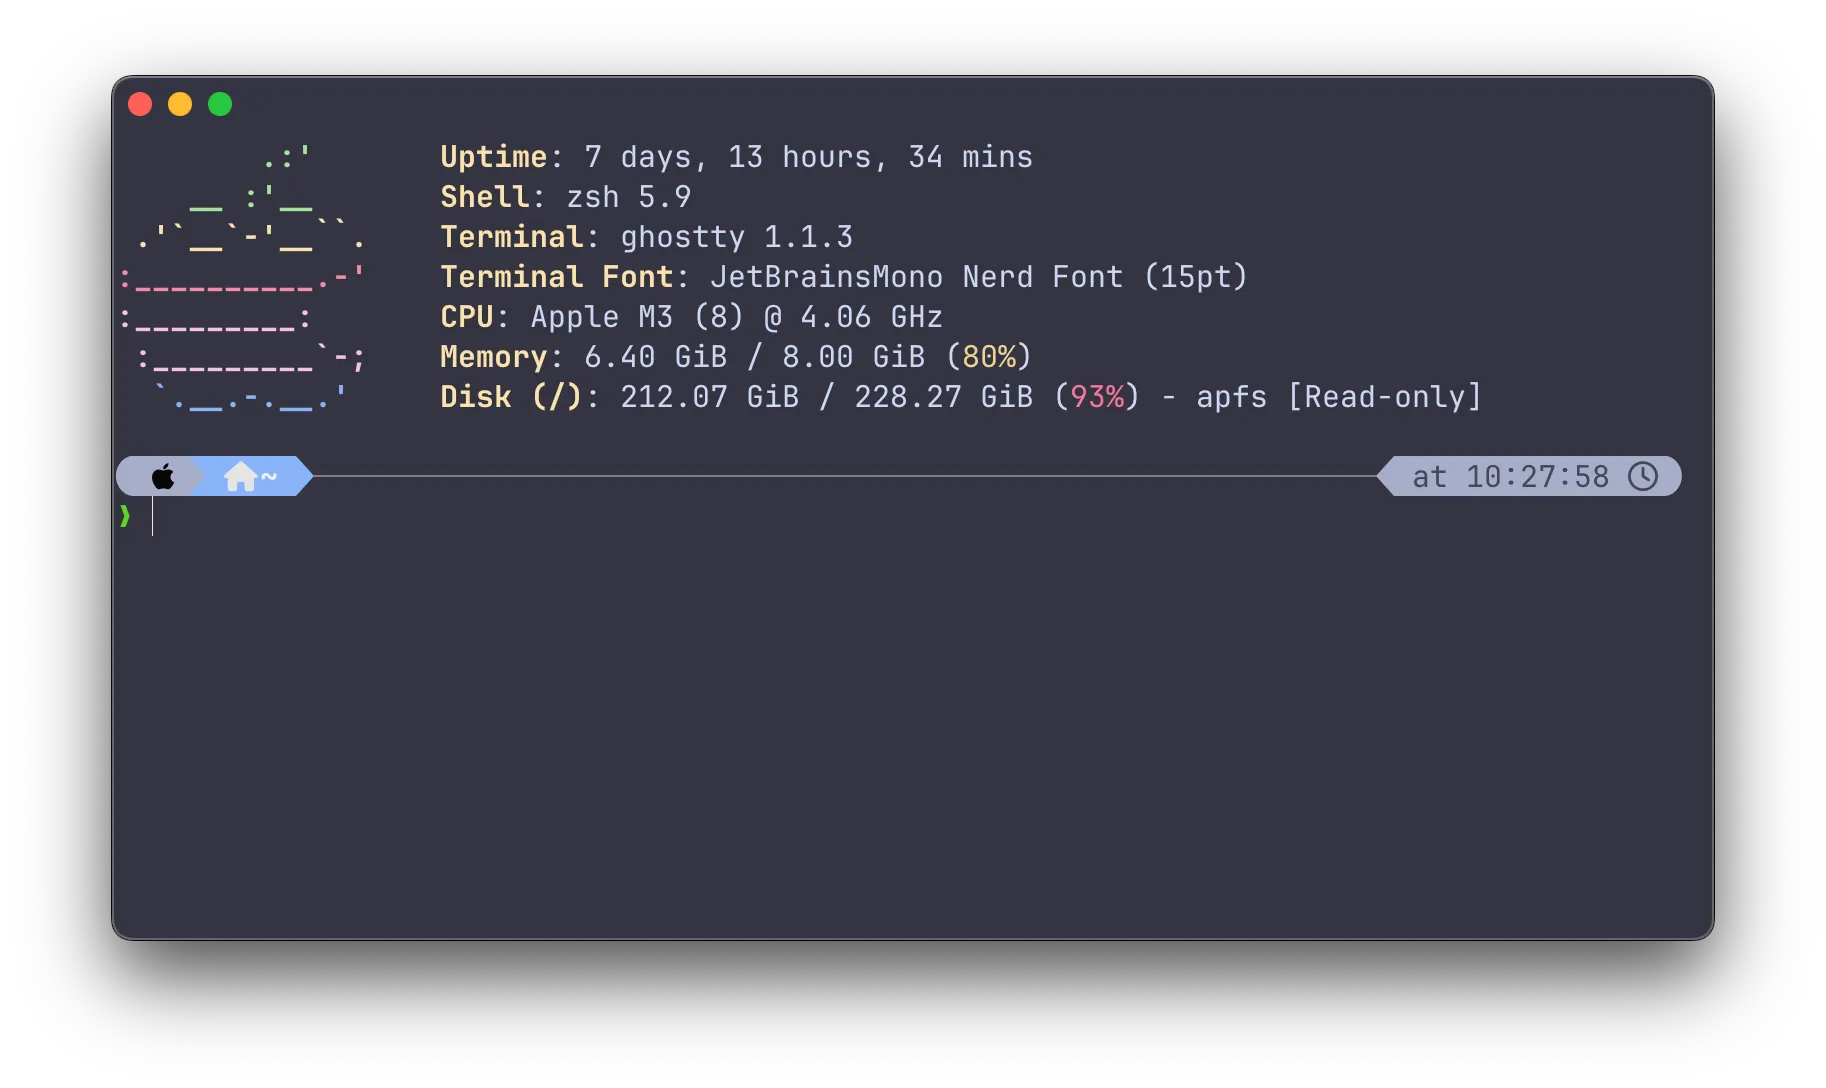
macOS’s default shell is zsh, and that’s my preferred shell. I have most things default, but I use Powerlevel10k to add a fancier prompt. It gives the time, working directory, Git info, and more. I also have a few system utilities replaced, such as cd replaced and aliased to z for zoxide, ls replaced with eza, and cat replaced with bat. These are drop-in replacements for system utils and add functionality, such as smart directory switching with zoxide and better formatting with bat. I also have fastfetch installed to show the Apple logo and system info whenever I open my terminal.
Conclusion
I spend a lot of time in the terminal. If I want to move files around my system (which I had to do to move screenshots from my screenshots folder to this post), I’ll just open my terminal instead of Finder. Like most things with Unix-like OS’s, there’s an easy way to do things and a fast way. The fast way usually has a learning curve, but I believe that it’s worth it.